
Land Rover Defender: Rear climate control
To access the second row climate screen, touch the 2nd Row soft key on the front climate screen.
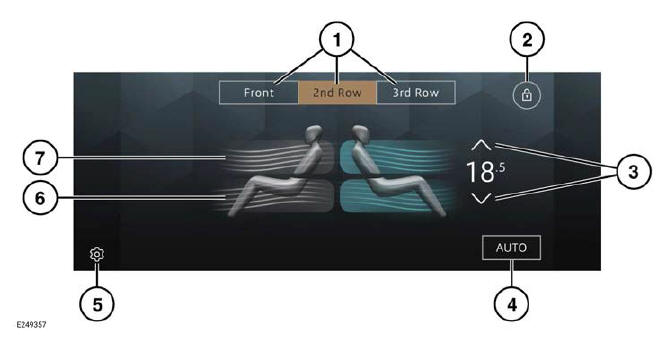
Control the rear climate as follows:
- Cabin zone soft keys: Touch to select a cabin zone. Available cabin zones vary, dependent on vehicle specification.
- Rear panel lock icon: Select to disable the rear climate control switches, in order to prevent the rear passengers from adjusting the rear climate settings. Select again to enable the controls.
- Temperature adjustment arrows: Select the red arrow to increase and the blue arrow to decrease the temperature. The temperature setting is displayed between the arrows.
- AUTO mode: Touch to switch automatic operation on or off.
- Settings icon: Touch to select the settings screen and then select Climate.
- Air distribution to the feet icon: Touch to switch on or off.
- Air distribution to the face icon: Touch to switch on or off.

The rear climate can be adjusted with the controls located in the rear of the center console.
Control the rear climate as follows:
- Cabin and rear seat temperature control: Press to alternate between the two.
- Temperature controls: Rotate to adjust the cabin or seat temperature.
- AUTO mode: Press to switch automatic operation on.
- Blower speed controls: Rotate to the adjust blower speed.
- Air distribution to the face button: Press to switch on or off.
- Air distribution to the feet button: Press to switch on or off.
- Sync: The LED illuminates to show that the rear climate controls have been synchronized to the driver's settings or that the controls are locked.
Note: Some of the buttons have an LED indicator lamp that illuminates to confirm selection.
Note: In addition to the selectable controls, the second row climate screen displays symbols that indicate the status of heating and ventilation functions.
Note: If the climate control system is switched off, pressing the rear AUTO button switches the climate control system on.
Note: If the system is in defrost mode, all rear controls are disabled and no airflow is available to the rear occupants.
Third Row Climate Control
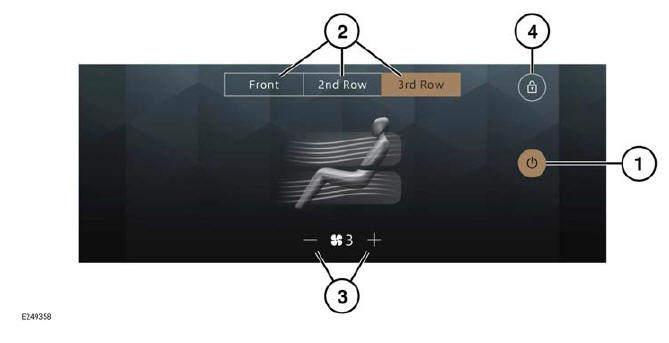
To access the third row climate screen, touch the 3rd Row soft key on the front climate screen.
Control the rear chiller from the touchscreen as follows:
- Power icon: Touch to switch the chiller on or off.
- Cabin zone soft keys: Touch to select a cabin zone.
- Blower speed adjustment: Touch to increase or decrease the blower speed.
- Third row chiller lock icon: Touch to lock the third row chiller controls.
The chiller for the third row can also be adjusted using the control at the rear of the vehicle.
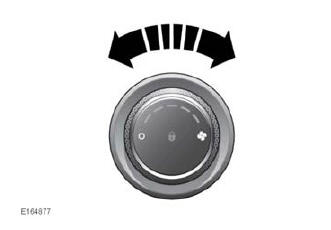
The third row chiller provides chilled air through the rear side vents.
Rotate the control to adjust the fan speed.
